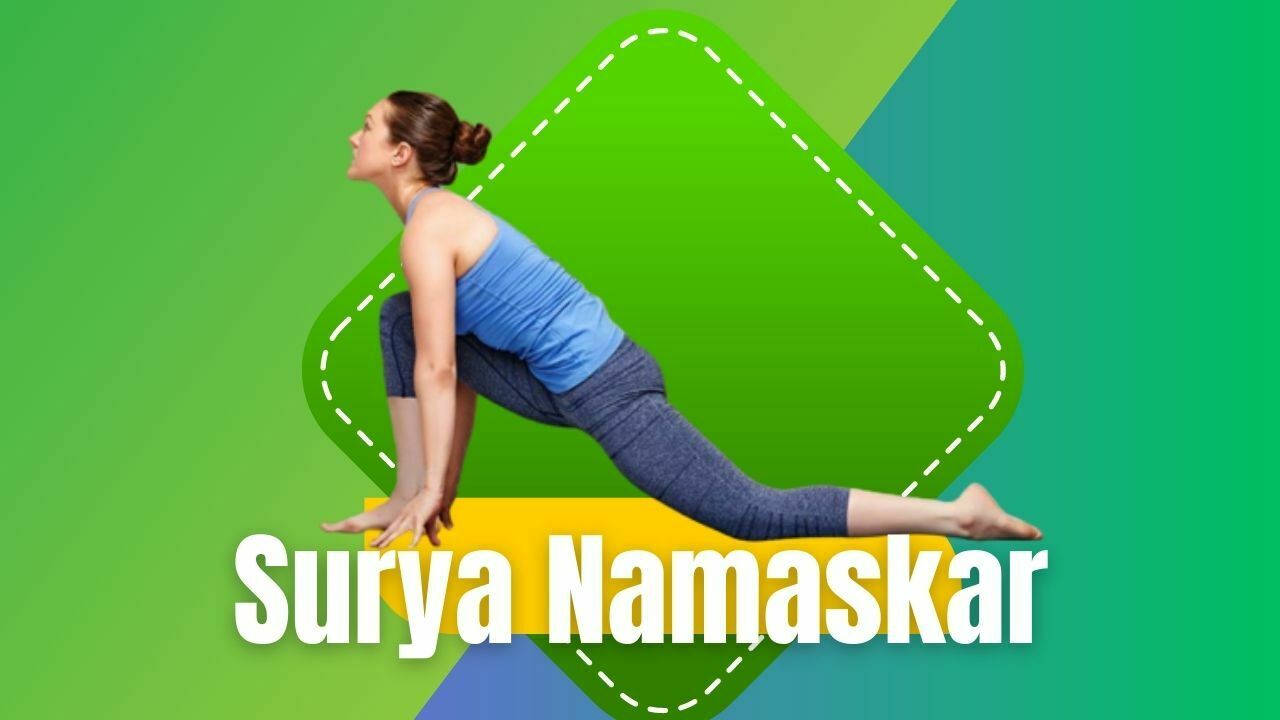
Sun Salutation: Discover the 12 Steps Of Surya Namaskar And Surya Namaskar Benefits For Better Efficiency in Life.
Sun Salutation or Surya Namaskar is an ancient technique of greeting the sun in the morning, it consists of 12 powerful yoga asanas. The exact origin of the Surya namaskar is unknown but it was started popularised in the 1920s, by the king of Aundh, Raja Bhawanrao Shrinivas Rao Pant Partinidhi. describes it in 1928 in his book “The Ten Point Way to Health: Surya Namaskar.
It is advisable to do Surya namaskar or Sun Salutation early morning with an empty stomach, you can practice it from 5 to 30 minutes.
One set contains 12 asanas and is done in a 12-step sequence, a Surya Namaskar is a complete workout and it covers almost every part of your body. If you have a hectic schedule you can easily keep some times for Surya Namaskar that boost your day in terms of concentration, strength, and performance.
Do you know how many calories you burn after doing a 30-minute workout? You burn calories around 199 in weightlifting,232 in Tennis, 298 in football, 364 in rock climbing, and 414 in running.
Can you guess how many calories you burn doing Surya Namaskar?
It’s around 417 calories. So just 10 minutes of Surya Namaskar or Sun Salutation burns 139 calories which is more than the 10 minutes of swimming and other workouts as well Surya Namaskar or Sun Salutation benefits are enormous which we discuss later in this article
12 Steps Of Surya Namaskar And Surya Namaskar Benefits For Better Efficiency

We discuss the Surya Namaskar or sun Salutation in two parts first we discuss the 12 steps of Surya Namaskar (12 steps of Sun Salutation), and then discuss the What are benefits of Surya Namaskar (Sun Salutation Benefits). Let’s Start with 12 steps
12 Steps Of Surya Namaskar Or Sun Salutation
Surya Namaskar or Sun Salutation is performed in 12 steps in a particular sequence to benefit from these powerful yoga asanas.
1. Pranamasana or Prayer Pose

Stand straight on your feet, relax your shoulder take a deep breath, and exhale as you exhale lift your both hands in front of the chest in a greeting position.
2. Hastauttanasana or Raised Arm Pose

In Hastauttanasana or Raised Arms Pose, breathe in slowly lift your both arms up, and bend your spine backward, your biceps should be closed to your ears, and try to stretch your body up from heel to fingers
3. Hastapadasana or Standing Forward Bend

After the Raised arms pose, the next step is Hastapadasana, or standing forward bend, In this pose, slowly exhale breathe, and bend forward to touch the feet if you are more flexible you can touch the floor but in all this process your spine should be straight.
4. Ashwasanchalansana or Equestrian Pose

The next step after Hastapadasana is Ashwasanchalansana or Equestrian Pose, in this pose stretch your left leg backward and bend the right leg forward between the two arms on the floor and face looking up.
5. Dandasana or Stick Pose

After Ashwasanchalansana next pose is Dandasana or Stick pose In this pose, inhale the breathe and take your right leg backward beside the left leg to foam the straight pose leg spine and head in a straight line like a stick, and your hand should be straight on the floor.
6. Adho Mukh Savanasana or Downward Facing Dog Pose

After Dandasana or Stick pose, breathe out and up your hip in the air to come in Adho Mukh Savanasana it looks like an inverted ‘V’ and tries to keep your feet on the floor.
7. Astanga Namaskar or Salute with eight Parts or Points

The next step after Ashwasanchalansana is Astanga Namaskar or Salute with eight parts, in this posture bring your knees, chest, and hand towards the ground and slightly raise your hip.
8. Bhujangasana or Cobra pose

After Astanga Namaskar, Bhujangasana takes place in this cycle. In this asana lie down on the floor breathe in and raise your chest into the bhujangasana, bend your hand, and look up at the sky or your room ceiling.
9. Adho Mukh Savanasana or Downward Facing Dog Pose

After Bhujangasana lie down on the floor breathe out and up your hip in the air to come in Adho Mukh Savanasana, which looks like an inverted ‘V’, and try to keep your feet on the floor.
10. Ashwasanchalansana or Equestrian Pose

The next step after Bhujangasan or cobra pose is again Ashwasanchalansana or Equestrian Pose this asana comes twice in the Sura Namaskar, in this pose stretch your right leg backward and bend the left leg forward between the two arms on the floor and face looking up.
11. Hastapadasana or Standing Forward Bend

Now you go in the Hastapadasana or standing forward bend again, In this pose slowly exhale breathe, and bend forward to touch the feet if you are more flexible you can touch the floor but in all this process your spine should be straight.
12. Hastauttanasan or Raised Arm Pose

In Hastauttanasana or Raised Arms Pose, breathe in slowly lift your both arms, and bend your spine backward, your biceps should be closed to your ears, and try to stretch your body up from heel to fingers.
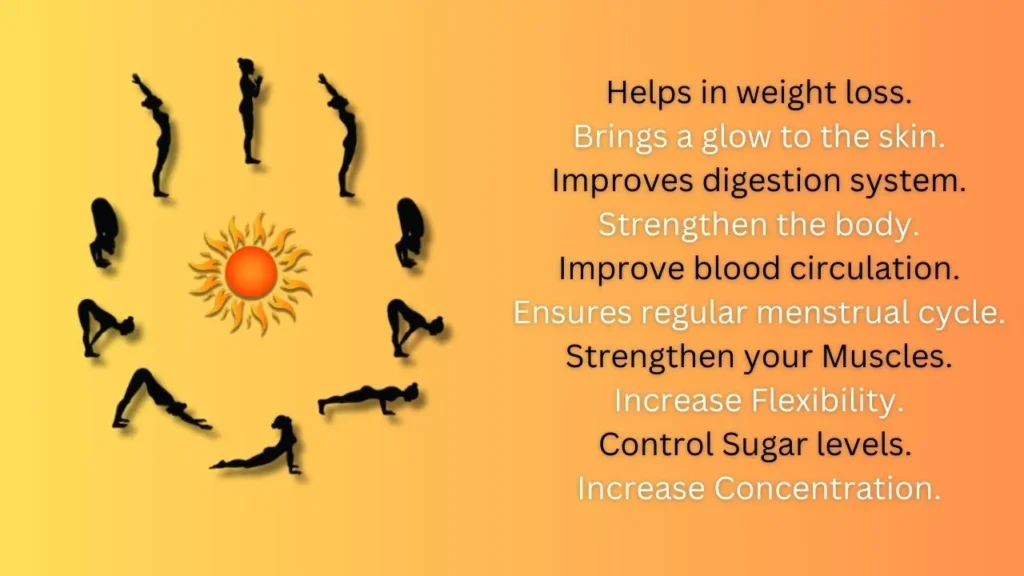
Surya Namaskar or Sun Salutation Benefits
Surya Namaskar, also known as Sun Salutation, is a traditional sequence of yoga poses practiced in reverence to the sun. This ancient practice dates back thousands of years and holds profound significance in the realm of holistic wellness. Beyond its physical aspect, Surya Namaskar embodies a spiritual connection with the celestial body, the sun, which is revered in many cultures as the source of life and energy. In this article, we delve into the multifaceted benefits of Surya Namaskar, exploring its impact on the body, mind, and spirit.
1. Physical Benefits:
Surya Namaskar comprises a series of twelve yoga postures seamlessly integrated into a flowing sequence. These postures engage various muscle groups, providing a comprehensive workout for the entire body. Some physical benefits include:
- Flexibility: Surya Namaskar stretches and elongates the muscles, promoting flexibility throughout the body.
- Strength: The dynamic nature of the postures builds strength in the arms, legs, core, and back muscles.
- Cardiovascular Health: The rhythmic breathing combined with continuous movement enhances heart health, improving circulation and stamina.
- Weight Management: Regular practice of Surya Namaskar can aid in weight loss by boosting metabolism and promoting calorie expenditure.
- Improved Posture: By strengthening the muscles supporting the spine and enhancing body awareness, Surya Namaskar helps correct posture imbalances.
2. Mental Benefits:
Beyond its physical effects, Surya Namaskar has profound implications for mental well-being. The synchronization of breath and movement fosters a meditative state of mind, calming the fluctuations of thoughts. Mental benefits include:
- Stress Reduction: The rhythmic breathing and focused concentration alleviate stress and anxiety, promoting relaxation and mental clarity.
- Enhanced Concentration: The mindful practice of Surya Namaskar cultivates concentration and improves cognitive function.
- Emotional Balance: Regular practice promotes emotional stability and resilience, helping individuals navigate life’s challenges with equanimity.
- Mood Enhancement: The release of endorphins during exercise uplifts mood and promotes a sense of well-being, combating depression and low mood.
3. Spiritual Benefits:
Surya Namaskar transcends its physical and mental aspects, offering a pathway to spiritual growth and self-discovery. Rooted in symbolism and reverence for the sun, it fosters a deeper connection with the inner self and the universe. Spiritual benefits include:
- Alignment with Nature: Practicing Surya Namaskar aligns the practitioner with the rhythm of nature, fostering a sense of interconnectedness and harmony.
- Cultivation of Gratitude: By honoring the sun, the source of all life, Surya Namaskar cultivates gratitude and appreciation for the blessings of existence.
- Awakening of Inner Light: The symbolic journey from darkness to light mirrors the spiritual journey of self-realization, awakening the inner light of awareness and consciousness.
- Union of Body, Mind, and Spirit: Surya Namaskar integrates the physical, mental, and spiritual dimensions of being, facilitating holistic wellness and self-integration.
Surya Namaskar, the timeless practice of Sun Salutation, offers a holistic approach to well-being, encompassing the body, mind, and spirit. Its multifaceted benefits extend beyond physical fitness, encompassing mental clarity, emotional balance, and spiritual growth. As we embark on the journey of self-discovery and inner transformation, Surya Namaskar serves as a guiding light, illuminating the path toward holistic wellness and harmony with the universe. Embrace the radiance of Surya Namaskar and bask in its transformative power.
Feedback: Hope you liked the article. Please share with your friends, colleagues, and relatives may these articles help them. If you have any suggestions you can tell us in the comment box and tell us which part you like the most. Your comments are valuable to us, they motivate us to provide you with more valuable content.
More from Ayurveda Sci.:
- 10 Vegetarian Foods That Increase Dopamine Levels Naturally.
- 5 Papaya Benefits For Females and How To Eat?


Thanks🙏